Open the Objectives menu to identify your current position. PowerPyx’s October 8, 2026 walkthrough uses these objective labels because the game has no traditional chapters; higher-level objectives also appear on save files. Match both the label and the landmark below, especially when an objective name repeats.[1]
This is an orientation and preparation guide, not exhaustive navigation or puzzle solutions. Early route details follow; later objectives and boss-related milestones are concealed. Keep the trophy planning guide nearby: PowerPyx reports no Chapter Select or post-story free roam, so an earlier manual save is your recovery route.[2]
Opening: confinement to the first shop
- Find Sunny → Escape the Cult. The opening Labyrinth ends before the chair escape. Once free, begin checking rooms for coins and materials; the walkthrough reports random material drops and no way to farm coins. Avoid budgeting around finding identical supplies on every run.[1]
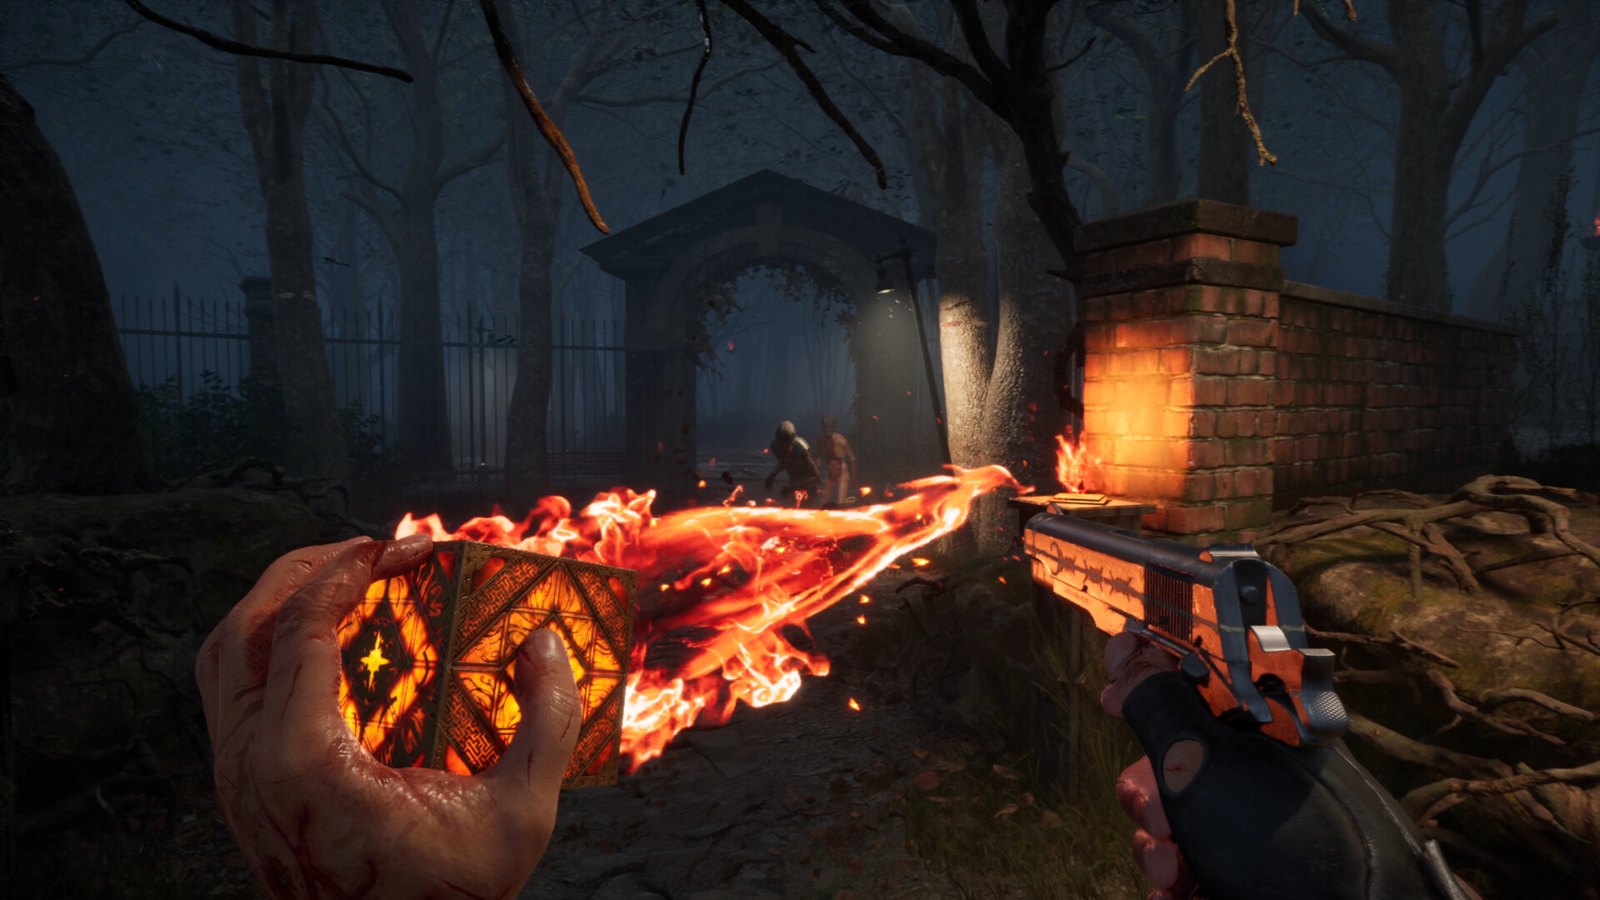
- Escape the Cult → Get to Safety. The opening club route includes the first chase and the automatically acquired Pistol. After the sewer encounters, climbing a ladder brings you to Zora’s first shop. Make a manual save before trading and review the dated PS5 shop-trophy warning in trophy planning.[1]
- Get to Safety → Find a Way Out of the Graveyard. The route passes through the outdoor areas and another chase before dropping into the graveyard. Take the Shotgun from the body beside the landing point, then save at the church. For A Quiet Place, avoid throwing distractions and being seen.[1]
First return to the Labyrinth
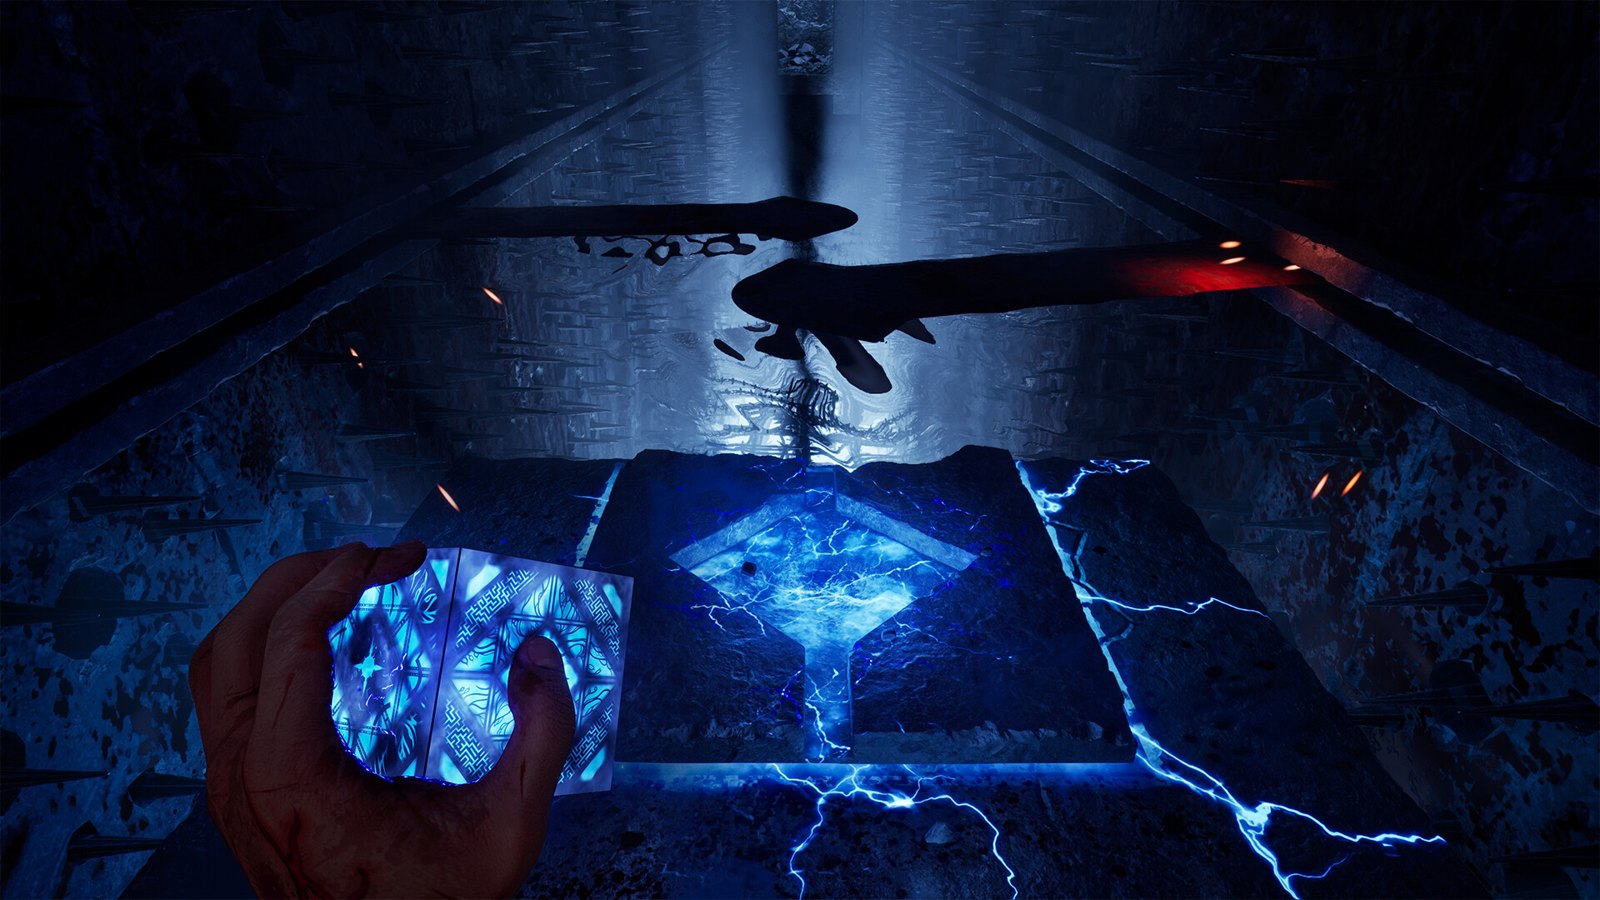
- Find a Way Out of the Graveyard → Free Sunny’s Soul. The graveyard’s shack provides another recommended save opportunity. In the following Labyrinth, check Pain Pillar #1 and Suffering Pillars #1–2 before advancing. Use the pillar reference for the optional turns and the arch landmark that signals you have passed a pickup.[1]
Story and boss spoilers: middle-game objectives and equipment checks
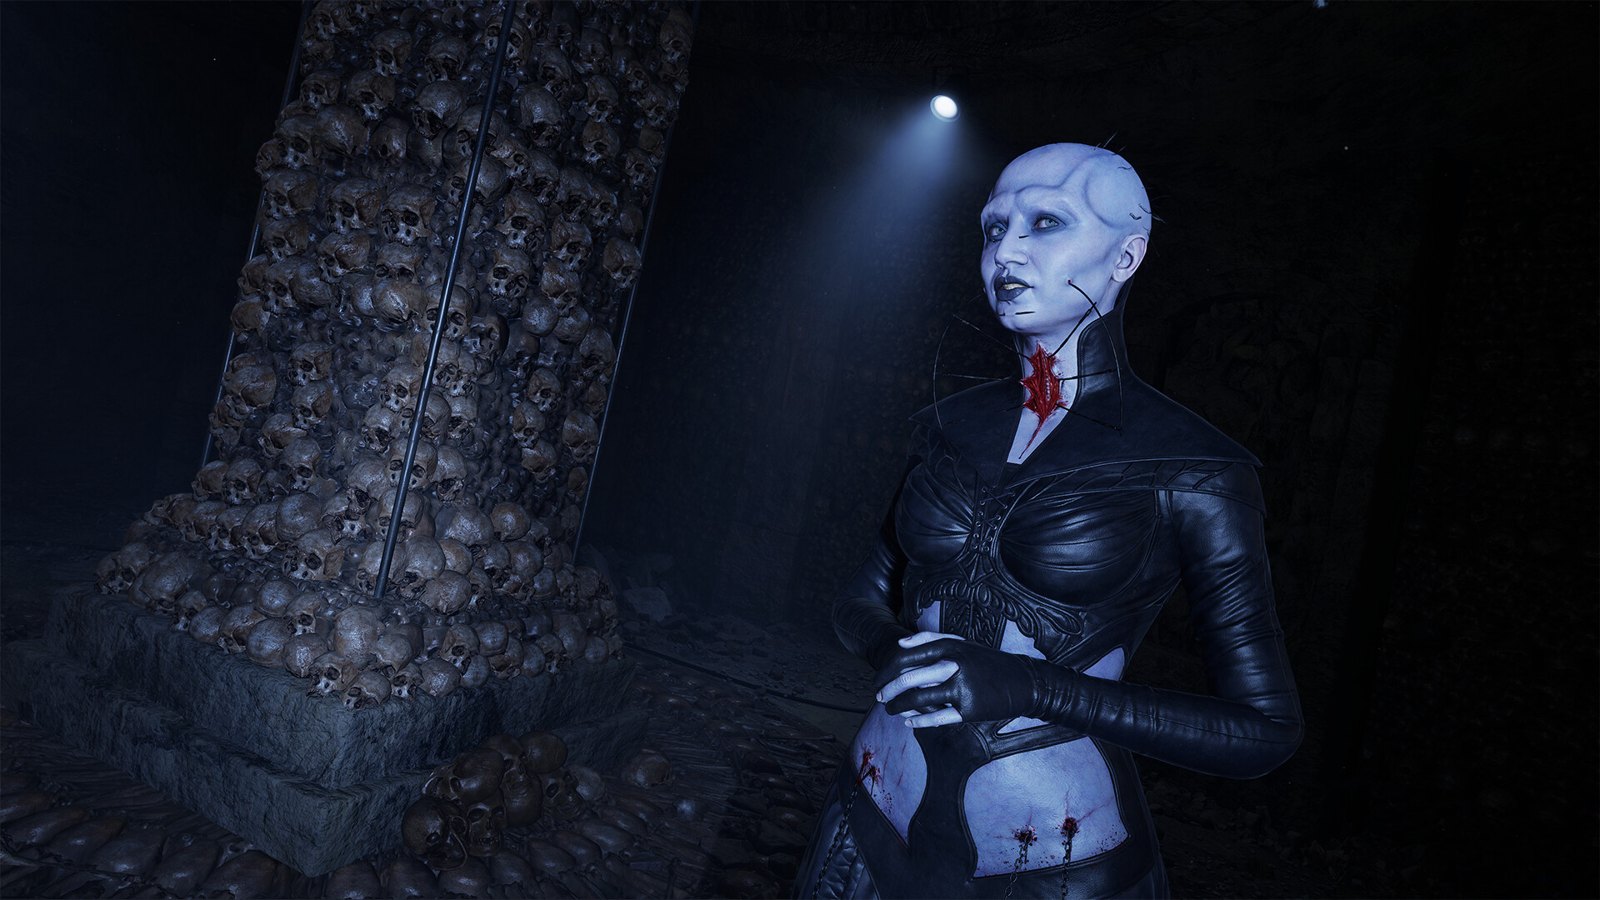
- Free Sunny’s Soul → Exit the Labyrinth → Open the Gate to Charlotte. The Field of Souls marks the end of this Labyrinth stretch. The next outdoor route has Zora’s second shop: review newly available recipes before pursuing the statue pieces.[1]
- Find a Statue’s Missing Part → Complete the Final Statue. Recognize this phase by the mansion, swamp and docks. Collect the SMG in the mansion; the Revolver becomes purchasable after the Statue’s Head. Revisit the shop as parts are recovered, using firearms and upgrades for equipment priorities.[1]
- Claim Charlotte’s Heart → Give Charlotte’s Heart to Sunny → Hunt Marlowe. Check Suffering Pillar #3 and Pain Pillar #2 during the intervening Labyrinth. The third shop then offers the Assault Rifle.[1]
- Enter the Voyeur Room → Get the Genesis Configuration Back → Exit the Labyrinth. The stolen Configuration identifies this stretch. Before leaving the Labyrinth, collect Suffering Pillar #4 and Pain Pillar #3. The subsequent Get to Marlowe phase opens further upgrades and the final recipe purchase.[1]
Late-objective and final-fight spoilers: preparation boundary
- Give The Sister of Mercy’s Heart to Sunny → Hunt Marlowe → Use the Elevator. Check Pain Pillar #4 and Suffering Pillar #5 before the fourth shop. PowerPyx identifies that shop as the last location with time to pursue remaining tasks and all purchasable items available. Audit the crafting checklist here.[1]
- Find and Use the Missing Bell → Reclaim the Genesis Configuration from Bruno → Hunt Marlowe. Pain Pillar #5 lies behind the painted-door puzzle during the reclamation route. A later sewer encounter offers another reported opportunity for Trickshot and Hellchains kills.[1]
- Final shop → final fight → Return to Sunny → Make Your Choice. The shop reached after climbing through a trapdoor is the preparation boundary: the walkthrough says there are no further material-gathering or ordinary-enemy opportunities before the final boss. Finish any possible crafting with existing supplies and consult the hidden ending section in trophy planning.[1]